
 Deutsch
There are several different ways of configuring Mist access points. The best method for you depends on your requirements and the situation in your enterprise.
Provisioning access points often used to be time-consuming and frustrating, with individual access points having to be integrated into the system manually or using scripts that only well-trained network administrators understood. On top of that, the network administrators always had to be on site to configure the network. With Mist, that is now a thing of the past. Thanks to administration via the Cloud, access points can also be configured remotely, only the physical installation has to be done on site. However, this can be done by auxiliary staff with no specialist training.
Mist offers several options for integrating individual access points into the planned or existing network. The benefits each of these provides depends on the situation on site. The texts below present the various methods of finding the right method for your requirements, whereby different variants can also be combined.
Via the dashboard
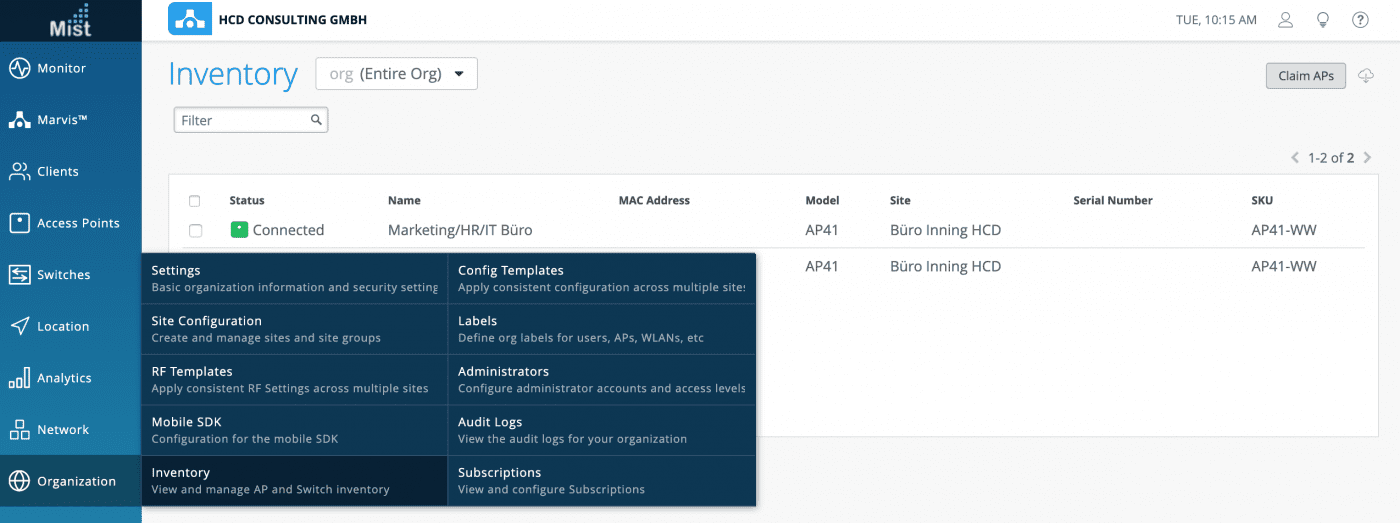
There are two places on the dashboard where access points can be added. The “Access points” menu item is situated in the left-hand navigation bar. There you will not only find an overview of access points that have already been added but also the “Claim APs” button, which allows you to add access points. Access points can also be added via Organization – Inventory.
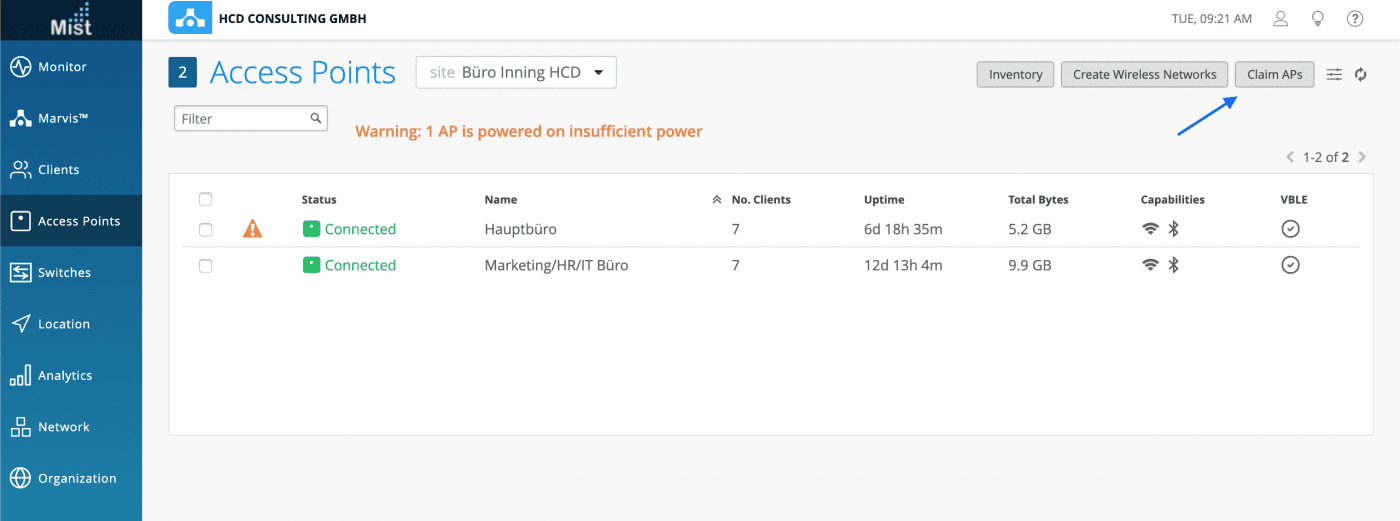
Adding access points via Claim AP
If you want to add access points via the dashboard, you can do so via Claim APs. The button opens a window that allows input of the claim codes as well as a number of settings.
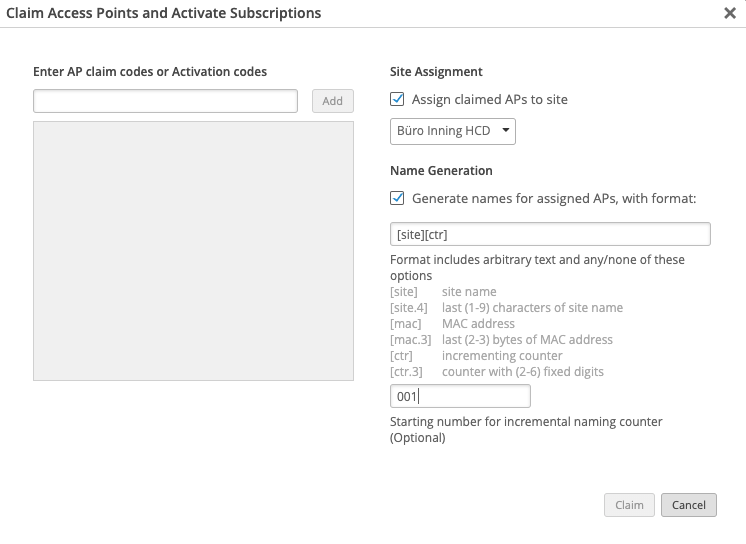
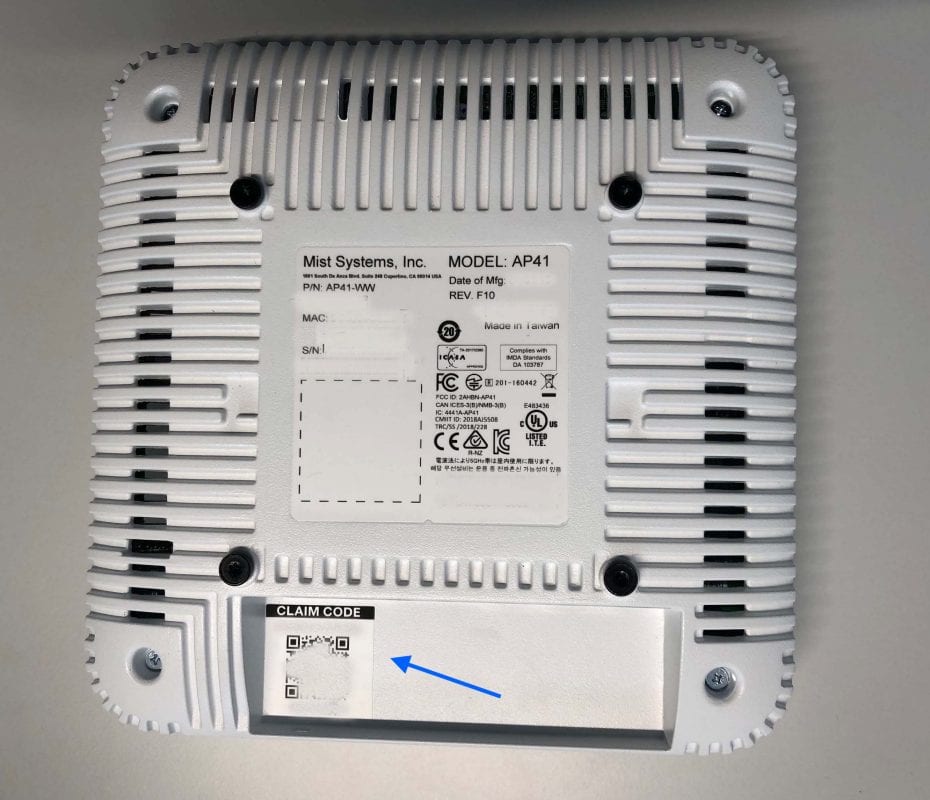
The claim codes that were sent to you or that are printed on the back of your access point can be entered in the “Enter AP claim codes” or “Activation codes” box.
Multiple claim codes for access points can be entered in the window before the provisioning process is started. The access points can also be assigned to a site straightaway. Furthermore, a name can be generated automatically in accordance with specific stipulations. Once all information has been entered, the AP integration process can be initiated with Claim. At the end, you receive a report telling you whether integration was successful.
Mist AI app
The Mist AI app facilitates your everyday workflow. Besides adding access points, you can also perform administration tasks via the app.
The Mist AI app is available for Android (version 6.0 or higher) and iOS (Version 10.0 or higher) mobile devices (smartphones and tablets) from the respective app platforms. There is no difference in the apps from the two platforms. The QR code automatically links to the correct version for your mobile device.

Once download and installation are complete, the app can be started on your mobile device.
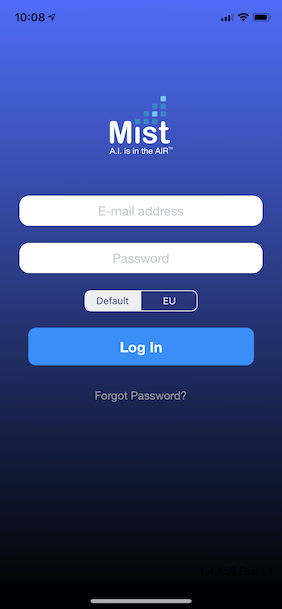
To use the app, you have to log in to your Mist Management Account, which is also used for the dashboard.
Whether you choose Default or EU depends on whether you have registered on the US (https://manage.mist.com) or EU (https://manage.eu.mist.com) Cloud.
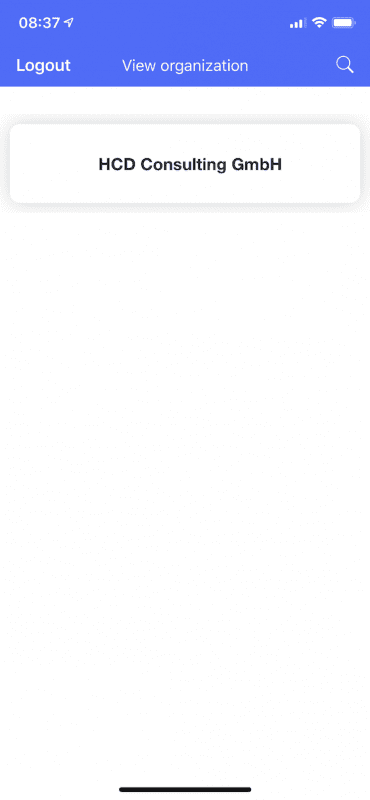
When you have logged in, a list of the assigned organisations will be shown. This list can also be searched.
New organisations cannot be created using the app.

After selecting the organisation, you come to an overview page that gives an overview of the available options – AP Inventory, Claim AP to Erg and Identify AP – as well as the Sites that have been set up.
New sites cannot be created via the app; this has to be done on the dashboard.
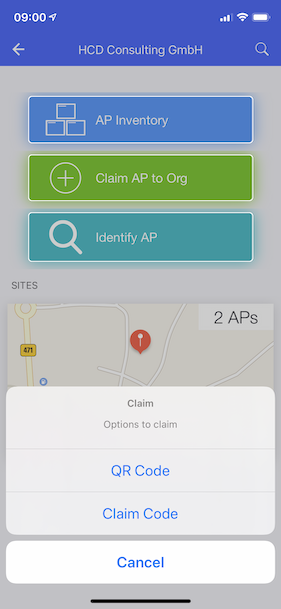
Under the menu item Claim AP to Org, you can add access points either using the QR code on the back or the 15-digit claim code of the organisation.
If an access point is added via Claim to Org, it will be listed in the AP inventory under Unassigned and can then be assigned to a site via the dashboard. This method makes sense when the access points are to be configured centrally at a later stage.
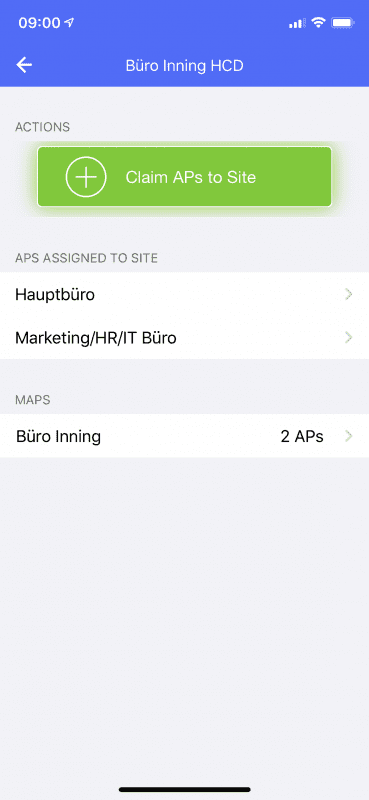
If an access point is to be assigned directly to a site, this should be done via the site. To do so, select a previously created site.
With the Claim APs to Site button, the access points can be added either via the QR or the claim code.
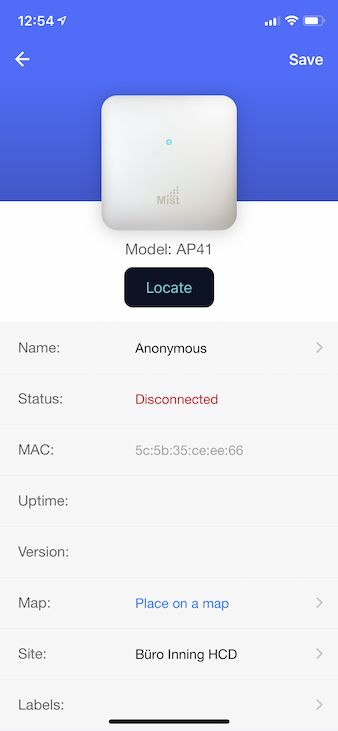
When the access point has been added, the page with the AP configuration menu opens.
Here you enter information such as name and labels. Moreover, the access point can be placed on a map of the site.
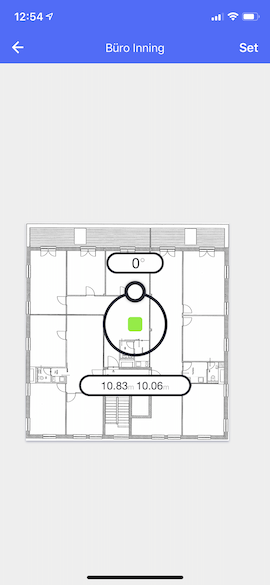
The size of the map can be adjusted to place the access point. The green icon marks the access point on the map. Longitude and latitude relative to the map are indicated to improve accuracy.
Additional app functions
The Mist AI app provides functions beyond the mere adding of access points. These are also presented in brief below.
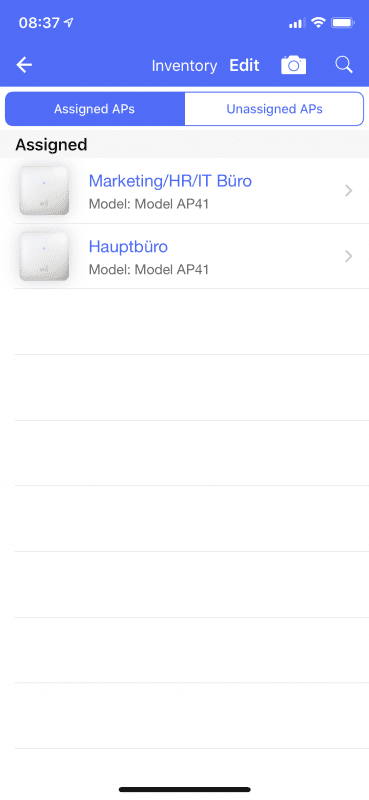
Under AP Inventory all access points can be viewed that have already been added to the organisation. Here a distinction is made between assigned and unassigned APs.
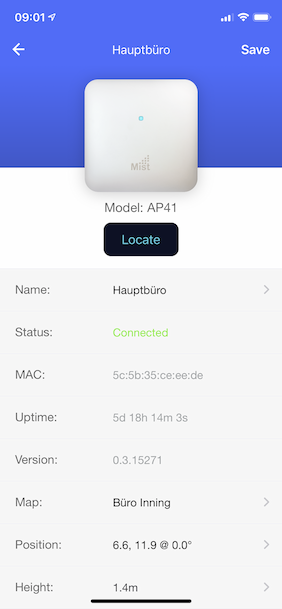
The assigned access points can be viewed singly and, to some extent, can also be configured. For example the name, position or labels can be edited. Of course, the app also features a localisation function that enables the access point’s indicator LEDs to flash.
The menu can also be used to remove the access point from the map (Remove from Map), the site (Unassign AP) and the organisation (Unclaim AP).
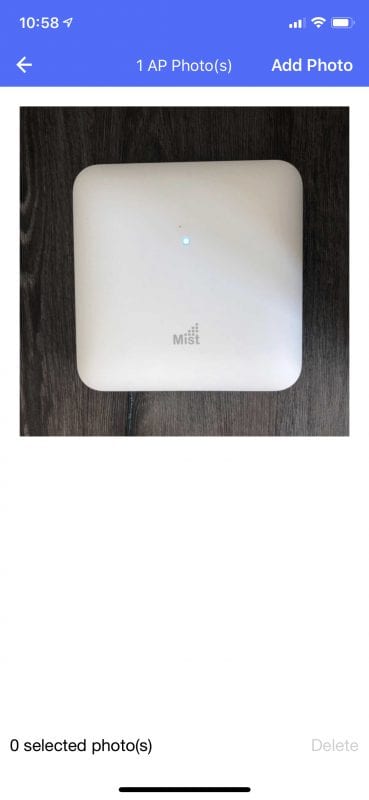
Existing photos of the access point installation location can be viewed or added under Show AP Photos. This means that the access point can be found more quickly if support is required.
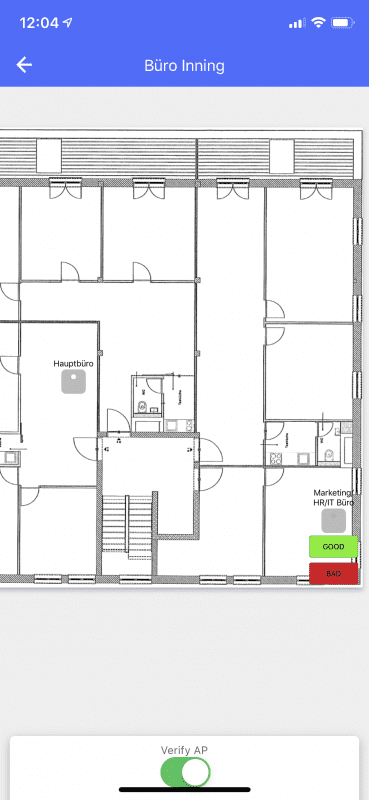
Furthermore, the access points that have already been added can be managed on the site’s app page. As explained earlier, the access points can be partially configured. The site map can also be viewed to help find the access points. Using the additional Verify AP function, the individual access points on the map can be switched to localisation mode to verify their position. If an access point is not where it should be according to the map, this can be marked. However, the access points cannot be moved via the app.
About the API
Finally, APs can be automatically listed in inventories by means of scripts. This solution is particularly useful if a large number of APs has to be provisioned quickly and automatically. The free API interface can be used for this purpose. It is up to the user to realise the inventory script. The AI for IT Mist API in the Mist University provides an introduction to using the APIs. An existing Mist account is required.
Summary
Mist basically offers provisioning of access points through the dashboard and through the app. Each method has different prerequisites. If there are only a few access points and they are to be added remotely to the Wi-Fi, the integration of the access point and the set-up can be realised via the dashboard. If there is a technician on site, provisioning via the app makes sense. The access points can be integrated quickly using the QR code and can even be positioned in the right place on the map. The Claim to Org method is a hybrid solution. In this case, the access points can be scanned by auxiliary staff and a technician takes care of assignment later (assigns the access point to a site and sets it up).
In addition, the Mist AI app provides further features that facilitate everyday work. These include the possibility of checking the location of the access points and taking photos. Both features make it subsequently easier for the service technician to locate the access point when the need arises.

Questions?
Just ask!
I am Alexander Zagler from the HCD sales team. I will be happy to advise you or assist you with any questions. You can phone me on +49 89 215 36 92-0 or reach me using our contact form.
Contact us